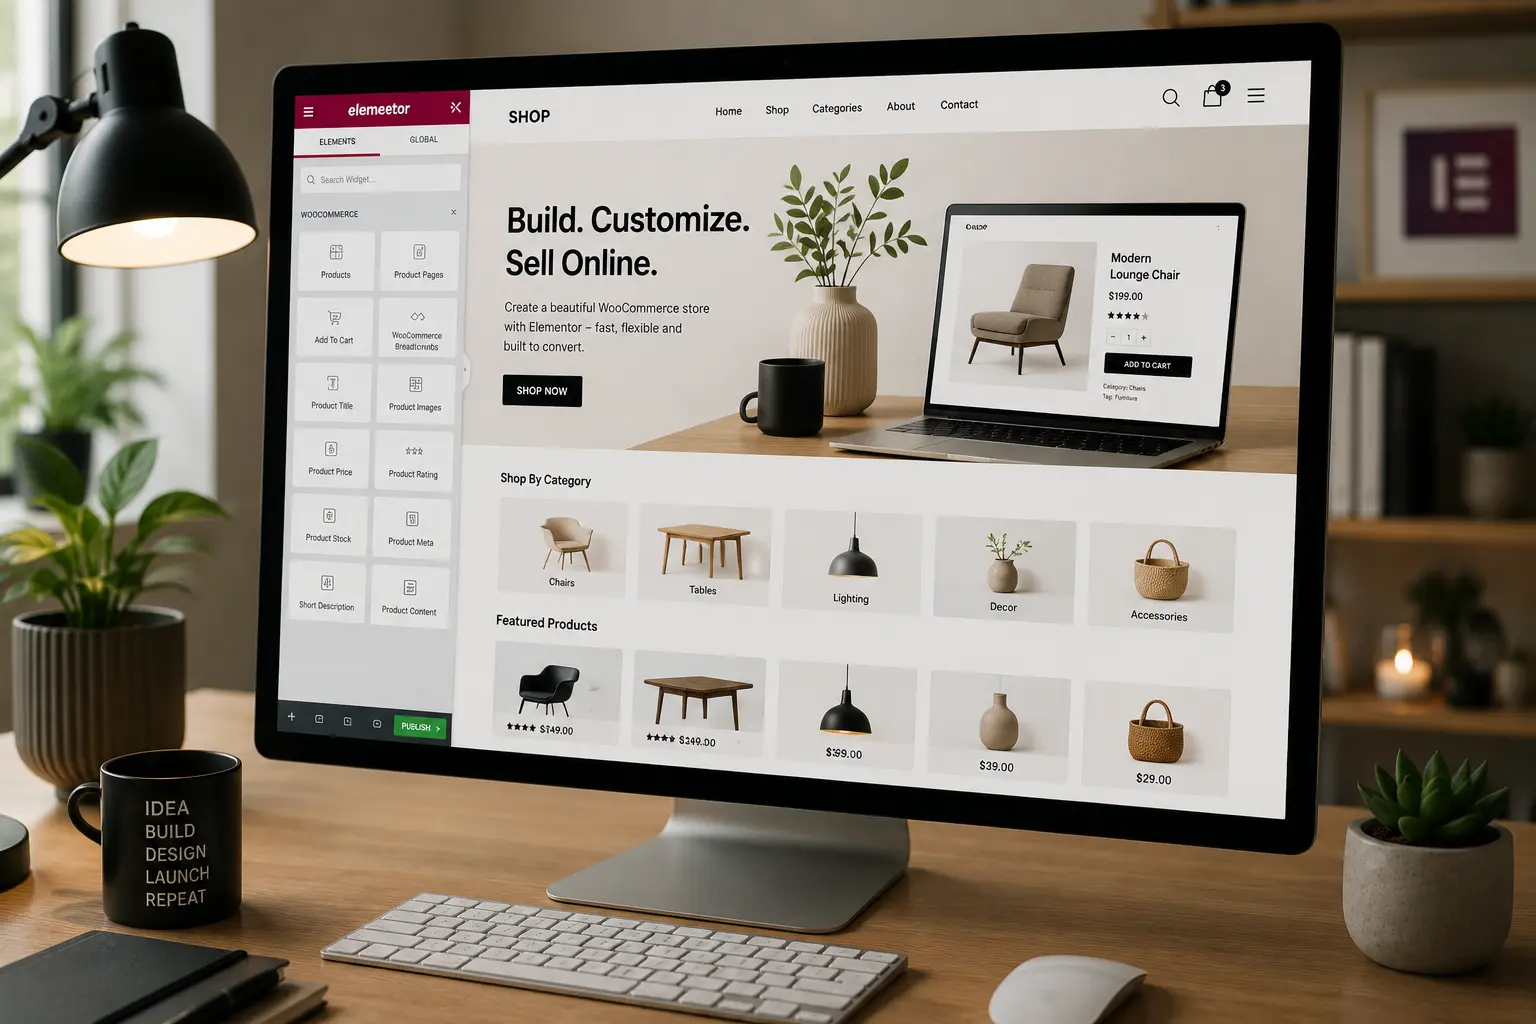
Elementor and WooCommerce can run a serious store together. Elementor designs the pages people see. WooCommerce handles products, cart, checkout, taxes, and orders. The confusion starts when people treat the page builder as the shop, or the theme as a finished store.
This guide is a practical way to build a WooCommerce store with Elementor in 2026: what you need, which templates matter, where performance breaks, and how to keep the shop editable after launch. It is not a “best WooCommerce theme” list. TreeThemes themes are Woo-ready, and they are mentioned where that fact actually changes the workflow.
What you actually need
- WooCommerce — products, inventory, payments, shipping, emails
- Elementor — page layouts, landing pages, and (with Pro or a theme builder) shop templates
- A theme that does not fight the shop — headers, product defaults, and Woo templates that you can restyle
- Payments and shipping configured before you polish the product gallery
You can sell with free Elementor and your theme’s default product layout. You cannot visually rebuild every shop, product, cart, and checkout template without a Theme Builder: Elementor Pro’s WooCommerce Builder, or a premium Elementor theme that includes shop templates you can edit.
If you are still deciding between a blank canvas and a designed theme, that choice affects the store as much as the homepage. See how to choose an Elementor WordPress theme.
Build the store backend first
Do not design a product page until WooCommerce can complete an order on staging.
- Install WooCommerce and finish the setup wizard on staging.
- Create two real products: one simple, one variable (size or color). Dummy products hide gallery and variation problems.
- Connect a payment method in test mode and a shipping zone that matches how you actually ship.
- Place a test order in an incognito window. Confirm the email, the order in wp-admin, and the stock change.
- Only then open Elementor on the shop and product templates.
A beautiful product page that cannot take money is not a store.
Which templates matter (and in what order)
Work in this order so you do not restyle the same button four times:
- Global styles — colors, typography, buttons. The add-to-cart button should match the rest of the site.
- Header and footer — include cart icon or mini-cart. Test it with an item in the cart.
- Single product — gallery, price, variations, add to cart, tabs, related products
- Product archive / shop — grid, filters, sorting, empty states
- Cart and checkout — change these last, and as little as you can. Conversion depends on familiarity more than on a unique layout
Elementor Pro’s WooCommerce Builder can design those templates visually. Premium Elementor themes such as Brandberry, Deep, and Pine include Woo-ready layouts and, in many cases, Theme Builder control over shop chrome. You still customize. You do not start from an unstyled storefront.
Single product pages that convert
Most Elementor WooCommerce sites fail here for the same reasons:
- The gallery is huge and unoptimized, so LCP is the first product photo
- Variation dropdowns are easy to miss
- Related products are a second, slower grid of the same images
- Trust content (shipping, returns, materials) is buried below a long description
Keep the buy box tight: image, name, price, short explanation, variations, add to cart, then details. Use Elementor for branded sections under that — lookbooks, size guides, or a simple FAQ — not for reinventing the add-to-cart control.
Give the main product image explicit dimensions. Do not lazy-load the first gallery image. That is the same LCP rule as any Elementor hero, applied to a product photo. Details are in how to speed up an Elementor website.
Shop archives without a plugin pile
A shop page needs a clear grid, usable filters if you have more than a handful of products, and pagination or a sane “load more.” It does not need three filter plugins, a quick-view modal, a wishlist, and a comparison table on day one.
Start with WooCommerce’s own catalog and your theme’s shop layout. Add a filter plugin only when customers cannot find products. Quick view is optional. Wishlist is optional. Each one is another script on every archive page.
If you use Elementor Loop Grid or theme portfolio-style widgets to list products, check mobile: price, title, and add-to-cart must remain tappable. A hover-only overlay that hides the product name is a desktop-only trick and a bad store pattern.
Cart, checkout, and what not to redesign
You can style cart and checkout with Elementor. You should be conservative.
People have bought online before. They look for coupon field, shipping, total, and a payment button in familiar places. Custom checkout layouts that collapse steps into a one-page art project often increase support tickets more than sales.
Never cache cart, checkout, or my-account pages. Exclude them in your cache plugin and CDN. Guest optimization modes that “delay all JavaScript” frequently break add-to-cart and payment widgets. Test every optimization on a real purchase path.
Theme choice for an Elementor store
Hello Elementor plus Elementor Pro can power a store if you will design every Woo template yourself. That is the right stack for a highly custom brand with a developer on the project.
A premium Elementor theme is usually faster for small catalogs, service businesses that also sell a few products, and agencies that ship stores as part of a marketing site. Woo support in TreeThemes products means styled shop layouts and compatibility, not a finished conversion system on import. Replace demo products immediately. Remove shop sections you will not use.
Do not install a dedicated “WooCommerce Elementor addon pack” on top of a theme that already includes shop widgets unless you have a specific widget you cannot live without.
A launch checklist for Elementor + WooCommerce
- Test order in incognito, on a phone, with a real payment sandbox
- Tax, shipping, and email templates use the live store name and address
- Out-of-stock and backorder behavior matches what you promised on the product page
- Cart icon updates without a full reload, or you have accepted that it does not
- Caching excludes cart, checkout, account, and WooCommerce AJAX
- Product images are resized and compressed before upload
- Demo products, demo reviews, and demo categories are gone
The theme customization checklist before launch still applies. Add the purchase path on top of it.
Final thoughts
Building a WooCommerce store with Elementor is a sequence: working commerce first, then branded templates, then restraint on cart and checkout, then performance. The builder is how you make the shop look like the rest of the site. It is not a substitute for product data, payments, or a theme that already understands archives and product pages.
If you want Elementor starter sites that already include shop layouts, browse the premium WordPress themes and import a demo on staging. Then delete every product that is not yours and complete one real test order before you announce the store.